1. Hide file and Show Hidden files in Finder
This is basic task but I often use it at work. When you want to hide a file from your Finder, just type:
chflags hidden input
Then press Enter or Return. See the picture below! In this case, I am hiding a movie file in Desktop named Untitled.m4v. You can just drag the file into Terminal window after you type "chflags hidden". If you wanna show it back, just change "hidden" to "nohidden".
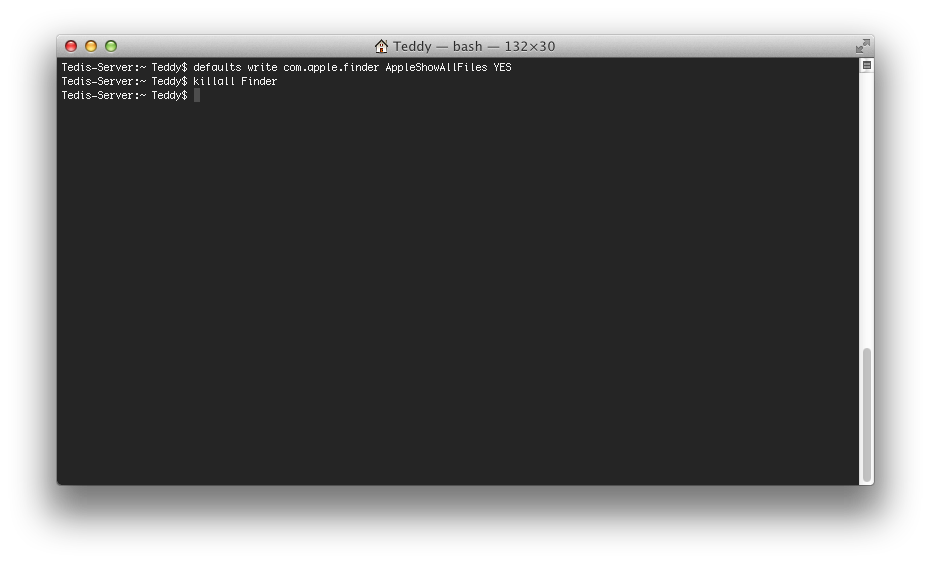
defaults write com.apple.finder AppleShowAllFiles YES
Press Enter to confirm then relaunch Finder by typing:
killall Finder
See the attachment below!
If you want to revert it, just change "YES" to "No".
2. QuickTime Autoplay
By default, when we open movie file by double click from Finder, the QuickTime will shows up but it doesn't play automatically. It can be changed by type:
defaults write com.apple.QuicktimePlayerX MGPlayMovieOnOpen 1
If you want it back to default, only change the number "1" to "0".
3. Clear Cache
Sometimes your machine going slow, because it has too much cache files. By doing the next task from your Terminal, you'll enjoy a faster mac as doing clean install. Follow this trick below:
sudo chown root:admin /
sudo kextcache -system-prelinked-kernel
sudo kextcache -system-caches
restart
By typing the commands above you'll run in administrator, so you must input your admin password.
4. Shutdown Timer
I usually use this command when I'm downloading a big file at my desktop machine but I have to go to somewhere immediately. When I go back, I want it have done and my computer is turn off. Example: In the browser, the download estimated time is 60 minutes so I must type:
sudo shutdown -h +70
It means the computer is going down 70 minutes from now. I always add additional time about 10 - 30 minutes. You can also make a schedule shutdown with changing +... to time you want like this command below.
sudo shutdown -h 00:28
5. Securely Erase Free Space
The biggest secret is when you use usual delete command for Trash on your Mac, the files are not actually deleted. The way to delete them permanently is by secure erase free space.
diskutil secureErase freespace 1 /dev/HDidentifier
Replace the "HDidentifier" with identifier of your Mac hard drive (see attachment below). This method will not delete the contents of your hard drive, it will delete the free space available.


Blogger Comment
Facebook Comment