- First, you should have an OS X Mavericks app from App Store in Applications folder.
- Right click on it from Finder, click Show Package Contents then go to Contents > SharedSupport and mount InstallESD.dmg.
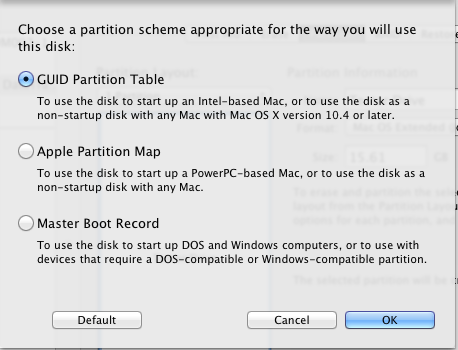
- Format your Target Disk by Disk Utility. Create a single partition "GUID Partition Table" (GPT) then format it to Mac OS Extended (Journaled). I give "Tester Drive" partition name to ease you. Click Apply.
- Launch Terminal and type the next command : sudo installer -verbose -pkg "/Volumes/OS X Install ESD/Packages/OSInstall.mpkg" -tgt /Volumes/"Tester Drive" press Enter, type your password and wait for a while. When you install this OS from Lion or Mountain Lion, you should edit the SystemVersion.plist on /System/Library/CoreServices/ first but don't forget to back to default after this command works.
- Finally you just install the bootloader on your target disk and install additional kext such as FakeSMC and NullCPUpowermanagement. Now your disk ready to use.
Credits : Wayang NT
Update :
This command works to install Lion, Mountain Lion, or Yosemite. But in Lion or Mountain Lion, you should change /Volumes/OS X into /Volumes/Mac OS X.
Update :
This command works to install Lion, Mountain Lion, or Yosemite. But in Lion or Mountain Lion, you should change /Volumes/OS X into /Volumes/Mac OS X.


Blogger Comment
Facebook Comment